Showing posts with label Desserts. Show all posts

Tuesday, October 29, 2013

Pumpkin-Praline Custards

I couldn't let October end without making one more pumpkin recipe. Ok, I admit this time I'm cheating and using organic pureed pumpkin from a can, but if you want to have fun with fresh pumpkin, see my posts for Sugar-Roasted Pumpkin or Pumpkin, Pear, and Cranberry Gratin.  You'll have some of the canned pumpkin leftover after making these custards, so why not skip Starbucks and make a vegan pumpkin spice latte at home?

Ingredients:
For the custards:
  • 1 and 1/2 cups vanilla soy milk
  • 3/4 cup canned pumpkin
  • 2/3 cup vegan sugar
  • 1 and 1/2 teaspoons ground cinnamon
  • 1/2 teaspoon ground nutmeg
  • 1/2 teaspoon vanilla extract
  • 1/4 teaspoon salt
  • 2 vegan eggs*
  • Cooking spray
For the praline:
  • 1/4 cup vegan sugar
  • 2 tablespoons water
  • 1/4 cup chopped pecans
1. To prepare the custards, combine the soy milk, pumpkin, 2/3 cup sugar, cinnamon, nutmeg, vanilla, salt, and eggs in a bowl, whisking well until combined.


2. Divide the pumpkin mixture evenly among 6 (6-ounce) custard cups coated with cooking spray.  Place the cups in a 13x9-inch metal baking pan, and add hot water to the pan to a depth of 1 inch.


3. Bake at 325 degrees for 50 to 60 minutes - a knife inserted in the center of the custards should come out almost clean.

4. Remove the custard cups from the pan and cool completely on a wire rack.  Cover and chill for at least 3 hours.


5. Meanwhile, prepare the praline: combine the remaining 1/4 cup sugar with the water in a small skillet.  Cook over medium-high heat heat for 4 minutes, stirring occasionally, until golden.


6. Remove from heat and stir in the pecans.  Immediately scrape the mixture onto a baking sheet coated with cooking spray, spreading evenly, and let cool completely before breaking into small pieces.

7. Sprinkle about 1 tablespoon praline over each custard to serve.


*Normally I would recommend Ener-G egg replacer for the eggs, but I found myself without some at home for the first time, and decided to try my hand at flax eggs (ground flaxseed blended with water). Although the results were fine, I think these custards would have set even better with Ener-G, so don't let yourself get caught in a pinch without it!

Nutrition Info:
6 servings (1 custard, about 1 tablespoon praline), Calories 220

Tasting Notes:
This was definitely a nice and different way to enjoy pumpkin in a dessert, but I was a little disappointed in the end result. The flavor was surprisingly bland, so I'd add more spice (and perhaps cloves in addition to the nutmeg and cinnamon), and I'd probably use tofu in place of the egg replacer to achieve a thicker and creamier final product. As is, this wasn't nearly as good as pumpkin pies I've baked, so I'll stick with pie next time. See my note on Ener-G eggs versus flaxseed eggs above, however, as that might have been part of the problem.

Rating:
3

Thursday, September 19, 2013

Pear Cake with Pine Nuts

Here's a perfect fall cake - any variety of pear will work, so use your favorite (bonus points if you've gone to the fruit orchard to pick it yourself). The pine nuts give a nicely different, savory element to the topping. Toast them ahead of time in a small skillet over medium heat for about 3 to 5 minutes, being sure to shake or stir in the pan frequently to prevent burning.

Ingredients:
  • 1 and 1/4 cups all-purpose flour
  • 3/4 cup vegan sugar
  • 1/8 teaspoon salt
  • 1/4 cup vegan butter
  • 2 tablespoons toasted pine nuts
  • 1/4 teaspoon ground cinnamon
  • 1/3 cup vegan sour cream
  • 1/4 cup plain non-dairy milk
  • 1 teaspoon grated lemon rind
  • 1 teaspoon vanilla extract
  • 1/2 teaspoon baking powder
  • 1/4 teaspoon baking soda
  • 1 Ener-G egg
  • Cooking spray
  • 2 cups thinly sliced and peeled pear
1. Lightly spoon the flour into dry measuring cups and level with a knife.  Combine the flour in a bowl with the sugar and salt.  Cut the butter into small pieces, and cut into the flour mixture with a pastry blender - the mixture should look like coarse meal.

2. Transfer 1/3 cup of this flour mixture to a small bowl, and stir in the pine nuts and cinnamon; set aside.


3. In the bowl of a stand mixer, combine the remaining flour mixture, the sour cream, milk, lemon rind, vanilla, baking powder, baking soda, and Ener-G egg.  Beat with a mixer at medium speed until blended.

4. Pour the batter into a 9-inch round cake pan coated with cooking spray.  Arrange the pear slices over the batter - any pattern will do, but I find concentric circles to be the prettiest.


5. Sprinkle with the pine nut mixture, then bake at 350 degrees for 45 minutes - a wooden pick inserted in the center should come out clean.  Cool completely on a wire rack before slicing.


Nutrition Info:
8 servings (1 wedge), Calories 252

Tasting Notes:
The slight graininess of the pears and the toasted pine nuts are an elegant and delightful combination. There was also a surprisingly nice burst of fresh lemon to each bite, from the rind. The cake is a perfect texture, with just the right touch of sweetness to the sugar topping, making this one a keeper. I also appreciated the ease with which it came together, since the flour mixture is used both in the batter and the topping. The perfect kind of cake to serve with coffee or brunch.

Rating:
4

Saturday, August 31, 2013

Devil's Food Cake

Devil's food cake is the opposite of angel food cake - the former is rich and chocolaty, whereas the latter is light and airy. Certainly, it's easier to make devil's food cake vegan, since recipes typically call for one or two eggs. (Angel food, but contrast, generally calls for 10 or 12 eggs, although that doesn't stop me from trying!). Another characteristic of devil's food cake is that it uses cocoa powder, rather than the chocolate that goes into a standard chocolate cake. The cocoa gives the cake a slightly reddish tint after cooking, which is another possible origin of the cake's name. But I like to think it's called "devil's food" because it's so devilishly delicious.

Ingredients:
  • Cooking spray
  • 2 teaspoons all-purpose flour
  • 5 tablespoons vegan butter
  • 1/2 cup Dutch process cocoa
  • 1 cup packed vegan brown sugar
  • 2 Ener-G eggs
  • 1/2 teaspoon baking soda
  • 1 and 1/2 teaspoons vanilla extract
  • 1/4 teaspoon salt
  • 3/4 cup all-purpose flour
  • 1/2 cup hot water
  • 1 teaspoon instant espresso granules*
  • 1 tablespoon vegan powdered sugar
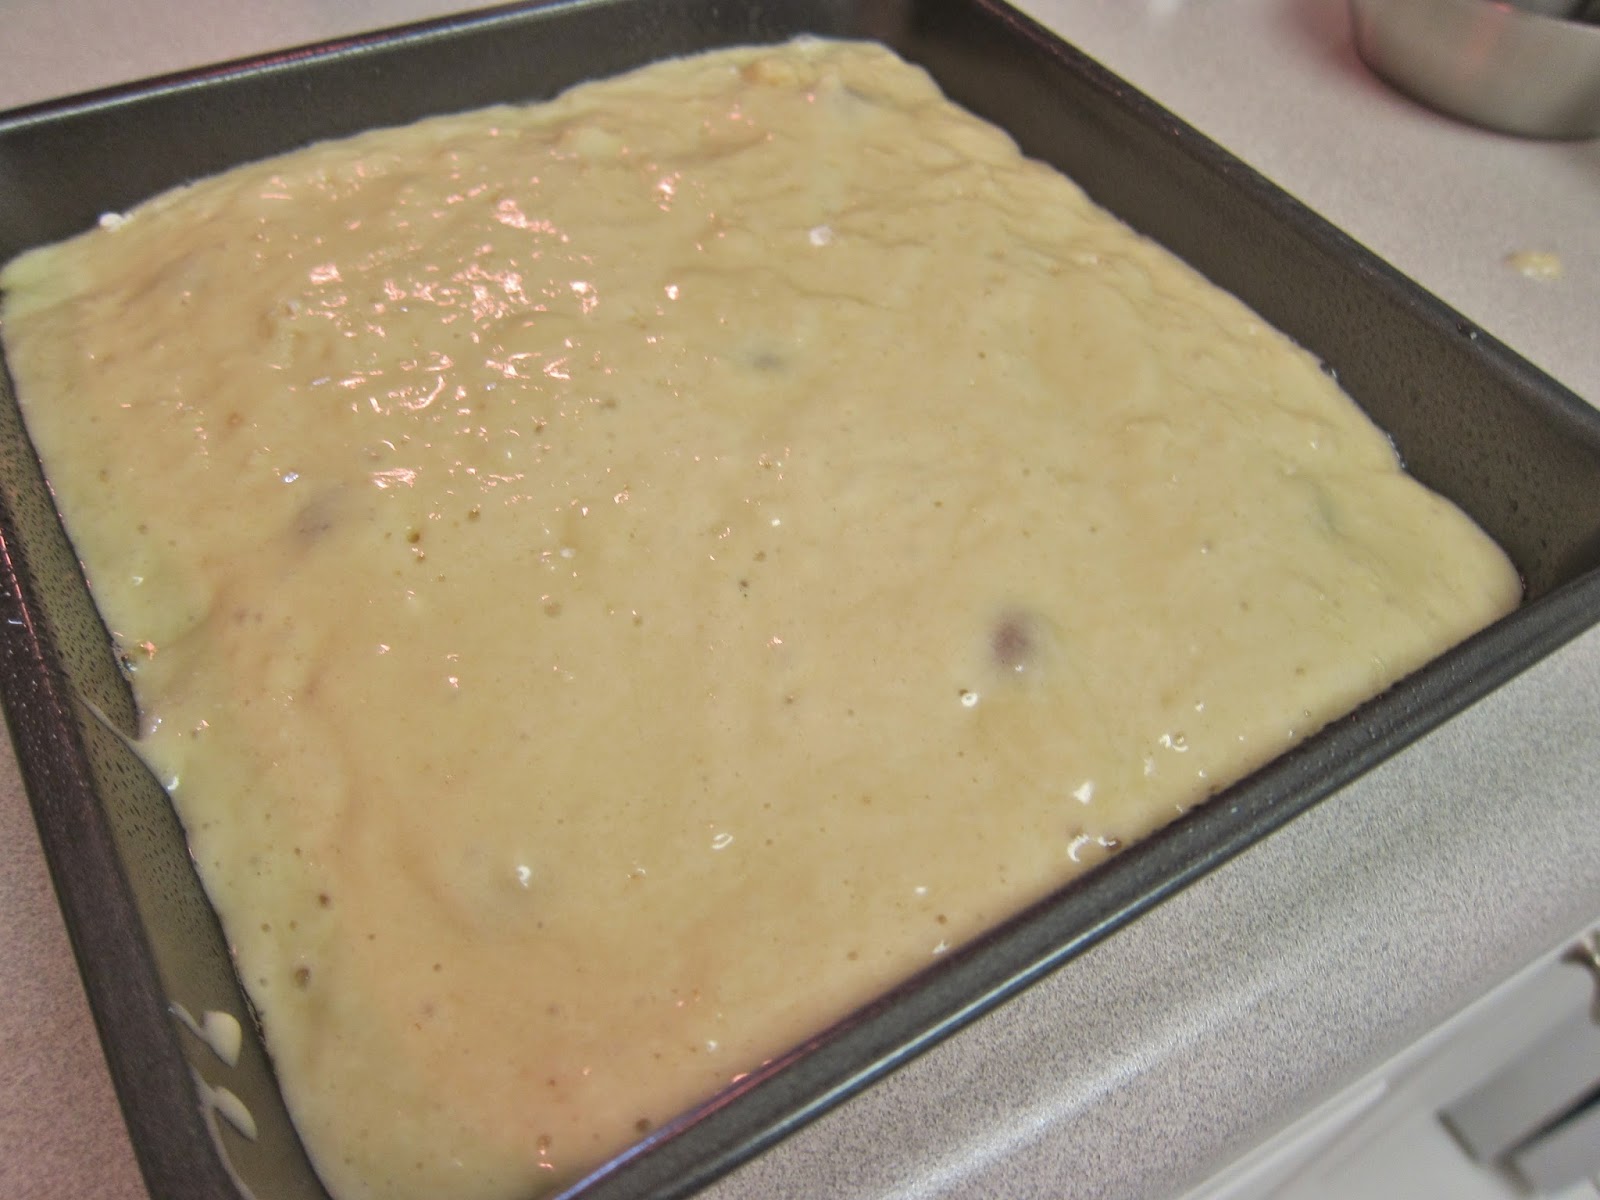
1. Coat an 8-inch square metal baking pan with cooking spray, and dust with 2 teaspoons flour; set aside.


2. Place the butter in a large microwave-safe bowl and microwave for 30 seconds to 1 minute, until melted.  Add the cocoa, stirring well with a whisk.


3. Add the brown sugar, stirring to combine, then add the Ener-G eggs and whisk until smooth (whisk gently, to avoid sloshing).  Stir in the baking soda, vanilla extract, and salt.

4. Lightly spoon the flour into dry measuring cups and level with a knife.  Add the flour to the cocoa mixture, stirring just until blended.  In a measuring cup, combine the hot water and espresso granules, then add to the flour mixture and stir until blended.


Note: The batter is quite watery at this point, so much so that I worried it wouldn't set properly during baking. These fears were unfounded, so don't fret if you are also concerned about how wet the batter is.


5. Pour the batter into the prepared cake pan and bake at 350 degrees for 25 minutes - a wooden pick inserted in the center should come out clean.  Cool the cake for 10 minutes on a wire rack, then dust with the powdered sugar.

Cut the cake into 9 squares, and serve warm from the pan or at room temperature.

*If you don't have instant espresso, use 2 teaspoons instant coffee instead.

Nutrition Info:
9 servings (1 square), Calories 221

Tasting Notes:
I don't think I've ever had a cake simultaneously so rich in flavor but airy and light in texture - a fantastic combination. The cake is almost fluffy, and yet bursting with chocolate. If you want to take this up a notch, try your favorite vegan frosting on top. The powdered sugar was nice, but I know this cake would be even better frosted.

Rating:
3.5

Monday, August 26, 2013

Peach Compote with Rum

Last week I was craving peaches, but only once in the middle of baking did I ealize I'd bought white peaches for my upside down cake instead of juicy yellow ones. I went ahead with the cake, but my craving for a yellow peach was unsatisfied. Tonight I decided the peaches would be even better showcased in a fresh fruit compote. Summer is the perfect time for fruit desserts - with fruit this sweet and ripe, you only need to add minimal sugar or additional flavor. This particular compote also works with savory dishes, if you prefer. For a fun twist, try serving it alongside Gardein chicken.

Ingredients:
  • 1/2 cup water
  • 1/4 cup vegan sugar
  • 3 tablespoons white rum
  • 1/2 teaspoon grated lime rind
  • 1 tablespoon fresh-squeezed lime juice
  • 3 cups peeled and sliced peaches
  • 1 cup halved seedless red grapes
  • 1 cup raspberries
  • Mint sprigs (optional for garnish)
1. Combine the water and sugar in a small saucepan.  Bring to a boil, and cook for 30 seconds, stirring constantly, until the sugar dissolves.

2. Remove from heat and stir in the rum, lime rind, and lime juice.  Let cool to room temperature.


3. In a large bowl, combine the peaches, grapes, and raspberries.  Add the rum mixture and toss to coat.


For a savory take on the dish, serve with Gardein chicken.


For dessert, try it over your favorite vegan vanilla ice cream.


Mint sprigs make a pretty garnish.


Nutrition Info:
6 servings (2/3 cup), Calories 116 

Tasting Notes:
Just as I hoped, the fresh fruit was fantastic, with just the right sugar-rum coating clinging to each bite. The resulting liquid tastes a bit like grenadine syrup or a raspberry mojito, thanks to the rum and raspberries. Although the compote was just great over ice cream, I actually preferred it with the Gardein, since the flavor combination was more unexpected. But honestly, even better just to spoon into the compote by itself, to savor the peaches to the max.

Rating:
3.5

Thursday, August 15, 2013

Peach Upside-Down Cake

I made a fun upside-down cake last week, but it used canned fruit instead of fresh summer produce. Grab the last of summer's peaches to make this yummy cake. I also drizzled caramel syrup on top after baking this time, unlike my pineapple cake, where the caramel bakes right in. As you'll see in my Tasting Notes below, this was definitely the right choice.

Ingredients:
  • 3 cups thinly sliced and peeled peaches
  • 1 tablespoon vegan sugar
  • 1 teaspoon cornstarch
  • 1 teaspoon lemon juice
  • Cooking spray
  • 2/3 cup vegan sugar
  • 1/4 cup vegan butter
  • 2 teaspoons grated lemon rind
  • 1 teaspoon vanilla extract
  • 1 Ener-G egg
  • 1 and 1/4 cups all-purpose flour
  • 1 teaspoon baking powder
  • 1/2 teaspoon baking soda
  • 1/8 teaspoon salt
  • 3/4 cup vegan buttermilk*
  • 2 and 1/4 cups vanilla non-dairy ice cream
  • 6 tablespoons caramel sundae syrup (such as Fun Fresh Foods)
1. In a bowl, combine the peaches, 1 tablespoon sugar, cornstarch, and lemon juice.  Spoon into a 9-inch round cake pan coated with cooking spray and set aside.


2. Combine the remaining 2/3 cup sugar in the bowl of a stand mixer with the butter, lemon rind, vanilla, and Ener-G egg.  Beat at medium speed for several minutes, until blended.  Lightly spoon the flour into dry measuring cups and level with a knife.  Combine the flour in a bowl with the baking powder, baking soda, and salt.  Add the flour mixture and the buttermilk alternately to the sugar mixture, beginning and ending with the flour mixture, and mixing well after each addition.


3. Spoon the batter over the peach mixture in the pan.  Bake at 350 degrees for 40 to 45 minutes - a wooden pick inserted in the center should come out clean.


4. Cool the cake for 10 minutes in the pan on a wire rack. Place a plate over the pan, and invert the cake onto the plate.


5. This cake is best served warm.  Serve one slice on each of 9 plates along with 1/4 cup ice cream. Warm the caramel syrup, and drizzle 2 teaspoons over each serving.

*To prepare the buttermilk, place 2 and 1/4 teaspoons lemon juice in a liquid measuring cup. Fill with non-dairy milk to equal 3/4 cup and let stand for 5 minutes to clabber the mixture.

Nutrition Info:
9 servings (1 cake slice, 1/4 cup ice cream, 2 teaspoons caramel syrup), Calories 307

Tasting Notes:
A beautifully moist cake, and I'm so glad I drizzled the caramel sauce on after baking this time, because each bite was just a pop of caramel flavor. Served a la mode, the warm cake melts the ice cream, for a "peaches-and-cream" effect. Minus one point only because I realized I bought white peaches, and the flavor would have been peachier and fresher with yellow ones.

Rating:
4

Tuesday, August 6, 2013

Pineapple Upside-Down Cake

I used to love cocktails garnished with a pink maraschino cherry, though I rather shudder at the memory now. The cherries are bleached, colored with artificial dyes, and loaded up with high fructose corn syrup. No thank you! But I confess I did miss the taste of these sugary bites, so was delighted to learn Tillen Farms' organic maraschino cherries are vegan.  Making this cake was a nice way to celebrate the discovery.

Ingredients:
  • 9 canned pineapple slices (such as Native Forest)*
  • Cooking spray
  • 1/3 cup caramel sundae syrup (such as Fun Fresh Foods)
  • 9 maraschino cherries (such as Tillen Farms)
  • 5 tablespoons vegan butter
  • 2/3 cup vegan sugar
  • 2 Ener-G eggs
  • 1/2 cup vegan buttermilk**
  • 1 teaspoon baking powder
  • 1 teaspoon vanilla extract
  • 1/4 teaspoon salt
  • 1/4 teaspoon baking soda
  • 1 and 1/4 cups all-purpose flour
1. Press the pineapple slices between paper towels until barely moist, and set aside.  Reserve any remaining pineapple slices for another use.


2. Drizzle the caramel topping in the bottom of a 9-inch square metal baking pan coated with cooking spray.  Arrange the pineapple slices in a single layer over the caramel.  Place 1 cherry in the center of each pineapple slice.


3. Place the butter in a large microwave-safe bowl and microwave for 30 seconds to 1 minute, until melted.  Add the sugar, whisking until blended.  Add the Ener-G eggs, then add the buttermilk, baking powder, vanilla extract, salt, and baking soda.

4. Lightly spoon the flour into dry measuring cups and level with a knife.  Add the flour to the sugar mixture, stirring just until blended.  Pour the batter over the pineapple slices in the prepared pan.


5. Bake at 350 degrees for 30 minutes - a wooden pick inserted in the center should come out clean.  Cool for 1 minute in the pan on a wire rack.  Place a plate over the cake, and invert the cake onto the plate.  Cool completely.


Mmm, vegan goodies:


*A 15-ounce can of pineapple slices from Native Forest will contain slightly more pineapple than you need for this recipe. Just save the rest for snacking!


**To prepare the buttermilk, place 1 and 1/2 teaspoons lemon juice in a liquid measuring cup.  Fill with non-dairy milk to equal 1/2 cup and let stand for 5 minutes to clabber (sour) the mixture.

Nutrition Info:
9 servings (1 square), Calories 264

Tasting Notes:
Wonderfully moist, and the cherry and pineapple slice on each square of cake are a delight. A lightly-sweetened batter, with nice hints of vanilla. My only complaint is that this was not the best use of the caramel sauce, since it seemed to lose some of its flavor during baking. Definitely let the cake cool all the way - I know, it's hard to be that patient! - since the flavors taste best once cooled, rather than when warm.

Rating:
3.5

Monday, July 22, 2013

Mango-Passion Fruit Gelato

There is no better time to make homemade vegan ice cream than summer. The past couple years, I took the easy way out and stirred add-ins into commercial vegan ice cream, for brand new flavors like Strawberry Cheesecake, Maple-Bourbon, and Mocha. This year, I took the slightly longer route, and used my ice cream maker to churn up ice cream from scratch. This is a rich recipe, closer to Italian gelato than to American ice cream.

Ingredients:
  • 1 cup vegan sugar
  • 1 cup water
  • 3 cups peeled and chopped mango
  • 2 cups passion fruit nectar
  • 1 and 1/2 cups plain non-dairy creamer
1. In a saucepan, combine the sugar and water.  Bring to a boil, stirring at the beginning until the sugar dissolves.

2. Once boiling, transfer to a blender, along with the mango.  Process until smooth.  Pour the mango mixture into a large bowl and cool completely.


3. Once cool, stir in the nectar and the creamer.  Pour the mango mixture into the freezer can of an ice-cream freezer, and process according to the manufacturer's instructions. Pardon the blurry photos, as these were taken in motion, but your mixture will go from this:


to this:


Once fully frozen, scoop into bowls, or serve in vegan wafer cones (try Let's Do Organic), for an extra-fun summer treat. 


Nutrition Info:
14 servings (1/2 cup), Calories 130

Tasting Notes:
A fruity blend of the mango and passion fruit, and not overly sweet, which I was pleased to find. I wondered how the juice and the creamer (I used Silk) would mix, but the result is a consistency that tastes somewhat between an ice cream and a sorbet.  The consistency of this is definitely best if you let it sit at room temperature for about 10 minutes. Icy cold and refreshing!

Rating:
3.5

Thursday, July 11, 2013

Coconut Tapioca Custard with Glazed Apricots

Tapioca pudding instantly brings me back to childhood, but this version gets an adult twist from the rum, and is a bit fancier thanks to coconut milk and a decadent apricot topping.

Ingredients:
For the custard:
  • 2 and 1/4 cups plain non-dairy milk
  • 1 cup vegan sugar
  • 2/3 cup uncooked quick-cooking tapioca
  • 1 teaspoon salt
  • 2 (14-ounce) cans light coconut milk
  • 2 Ener-G eggs
  • 2 tablespoons white rum
  • 1 teaspoon vanilla extract
  • 1/8 teaspoon coconut extract
For the apricots:
  • 3/4 cup apricot preserves
  • 2 tablespoons white rum
  • 1 tablespoon water
  • 1/4 teaspoon salt
  • 10 apricots
1. To prepare the custard, combine the milk, sugar, tapioca, 1 teaspoon salt, coconut milk, and Ener-G eggs in a saucepan, whisking until blended.  Let stand for 5 minutes.  Bring to a boil over medium heat, stirring constantly; be prepared for this step to take at least half an hour, since you are using a low heat setting. Once boiling, cook for 30 seconds, still stirring constantly, then remove from heat and stir in 2 tablespoons rum and the vanilla and coconut extracts.

Note: The custard will be quite thick at the end, almost heavy to stir, and the tapioca will have expanded, as shown in the photo below. 


2. Transfer the tapioca mixture to a large bowl; cover and chill for at least 2 hours.

3. To prepare the apricot topping, cut the apricots into 4 wedges each.  Combine in a skillet with the apricot preserves, 2 tablespoons rum, water, and 1/4 teaspoon salt.  Bring to a boil.  Reduce heat and simmer for 5 minutes - the apricots should be soft.


Note: I love that apricots are so much easier to pit than their peach-y cousins, which tend to cling to their pits. Apricot pits, by contrast, practically seem eager to leap out at you once you cut the fruit in half. From there just cut into quarters and proceed with the recipe.


4. Spoon 3/4 cup custard into each of 10 dessert dishes.


5. Top each serving with 1/4 cup apricot mixture.


*Be sure to choose quick-cooking tapioca, which is granulated, not the small or large pearl varieties. If pearls are more to your liking, skip this recipe and check out the tapioca bubble teas from this month's VegNews magazine.


Nutrition Info:
10 servings (3/4 cup custard, 1/4 cup apricots), Calories 289 

Tasting Notes:
The tapioca pudding is similar in texture to any rice or tapioca pudding you've probably had before, but the coconut flavor - actually quite subtle - gives it a wonderfully tropical vibe. What makes this dish stand out though is the apricot topping, which I found surprising in the best way. The sauce has a salty, silky, lightly fruity taste and drizzles over the pudding for just the right touch to each bite. The apricots are tender but still taste fresh, not over-cooked or mushy. Delectable.

Rating:
5